
Mortal Shell 2 Weapons & Sidearms: All Locations
Mortal Shell II pairs eight main melee weapons with eight ranged sidearms. Two are found in the Prologue, six in Fainweald, and eight in Mammon; all can be upgraded at the Tarforge in Marrow Keep.
Shared-data archive
All documented weapons, pictured and route-ready
Search by name, behavior, location, or prerequisite. Every appearance image links to its source, while unknown comparison data stays visibly unknown.
- Primary
- 8 primary weapons
- Sidearms
- 8 sidearms
Find an armament
Filter the archive
Comparison is intentionally limited to three primary weapons. Sidearms remain a separate equipment class.
16 of 16 armaments
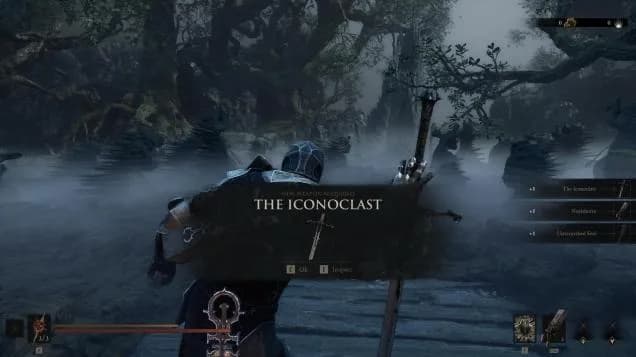
Prologue
The Iconoclast
Dependable one-handed sword for learning timings.
- Location
- Obtained during the Prologue.
- Requires
- None known
- Evidence
- Cross-checked guides · not yet tested in-game · 2026-08-19
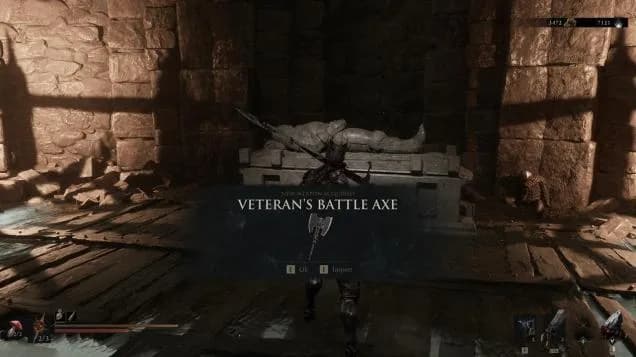
Fainweald
Veteran’s Battle Axe
Heavy commitment axe found in King’s Crypt.
- Location
- King’s Crypt, along the dirt path from Proxima’s location.
- Requires
- None known
- Evidence
- Cross-checked guides · not yet tested in-game · 2026-08-19

Fainweald
Axe & Dagger
Mixes fast dagger hits with heavier axe strikes.
- Location
- Chapel Key route: left from the beacon toward a Grisha Hunter camp.
- Requires
- Chapel Key
- Evidence
- Cross-checked guides · not yet tested in-game · 2026-08-19

Fainweald
Great Martyr’s Blade
Greatsword hidden in Martyr’s Prison.
- Location
- Martyr’s Prison.
- Requires
- None known
- Evidence
- Cross-checked guides · not yet tested in-game · 2026-08-19

Mammon
Obsidian Hammer
Heavy strike weapon from a Mammon boss.
- Location
- Obsidianite Mines, from the Prophet of Profane Infinites.
- Requires
- Defeat Prophet of Profane Infinites
- Evidence
- Cross-checked guides · not yet tested in-game · 2026-08-19
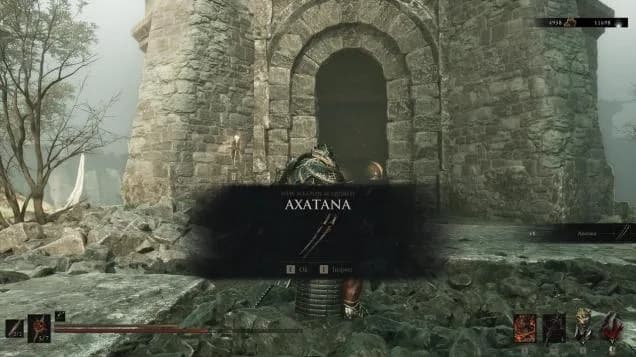
Mammon
Axatana
Multi-form weapon in the Forgotten Tower.
- Location
- Forgotten Tower.
- Requires
- None known
- Evidence
- Cross-checked guides · not yet tested in-game · 2026-08-19
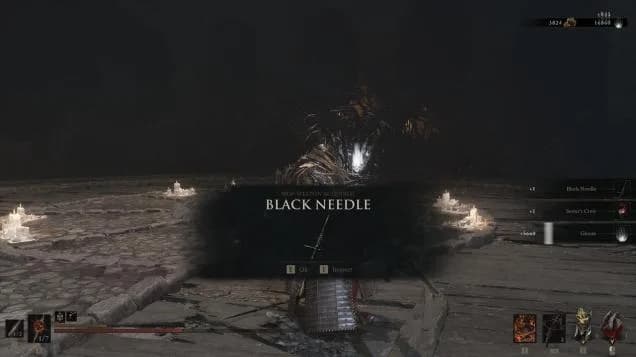
Mammon
Black Needle
Extended-reach weapon after the Sester encounters.
- Location
- After the Sester encounters (route to be verified in-game).
- Requires
- Sester encounters
- Evidence
- Cross-checked guides · not yet tested in-game · 2026-08-19

Mammon
Clockwork Scythe
Scythe rewarded by the Sariel encounter chain.
- Location
- Sariel chain near the Chamber of Becoming (with Caged Hystrix).
- Requires
- Complete the Sariel chain
- Evidence
- Cross-checked guides · not yet tested in-game · 2026-08-19
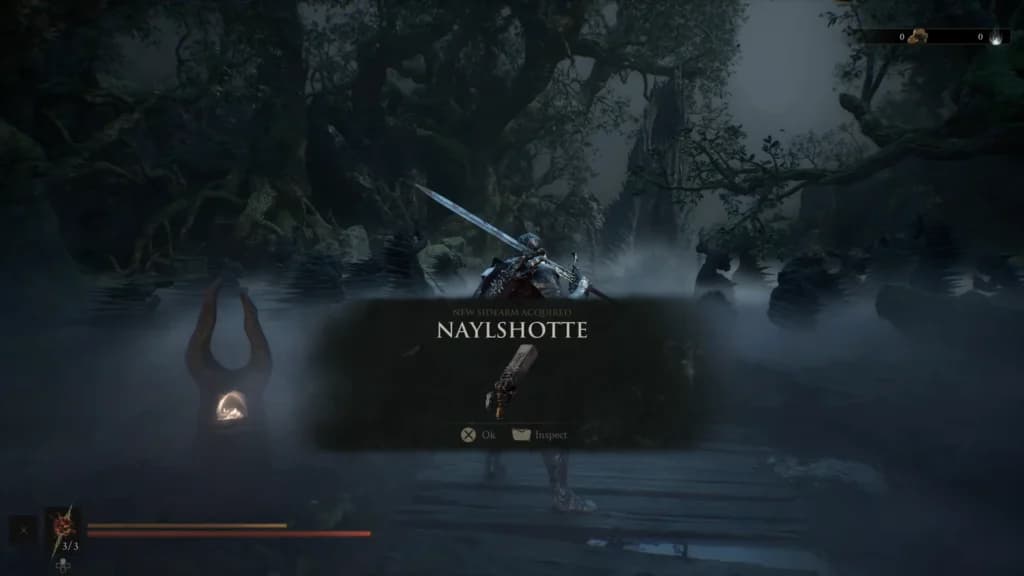
Prologue
Naylshotte
Shotgun-style spread sidearm; obtained in the Prologue.
- Location
- Obtained during the Prologue.
- Requires
- None known
- Evidence
- Cross-checked guides · not yet tested in-game · 2026-08-19
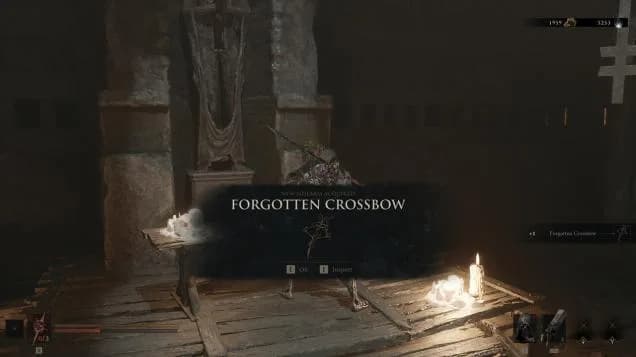
Fainweald
Forgotten Crossbow
Predictable ranged option in the Flooded Village.
- Location
- Flooded Village dungeon near Widow’s Overlook, behind a boarded arch and elevator descent.
- Requires
- Damp Key
- Evidence
- Cross-checked guides · not yet tested in-game · 2026-08-19
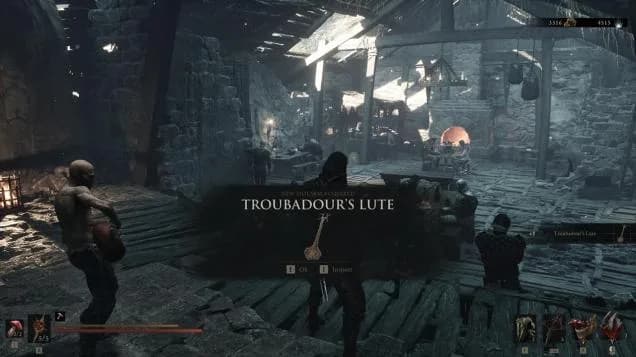
Fainweald
Troubadour’s Lute
Support sidearm that can confuse enemies.
- Location
- One-Legged Wolf stage.
- Requires
- None known
- Evidence
- Cross-checked guides · not yet tested in-game · 2026-08-19

Fainweald
Salvaged Trebuchaxe
Thrown-axe sidearm.
- Location
- Ravaged Hideout, after the Bloodcursed Lithopod.
- Requires
- Defeat Bloodcursed Lithopod
- Evidence
- Cross-checked guides · not yet tested in-game · 2026-08-19
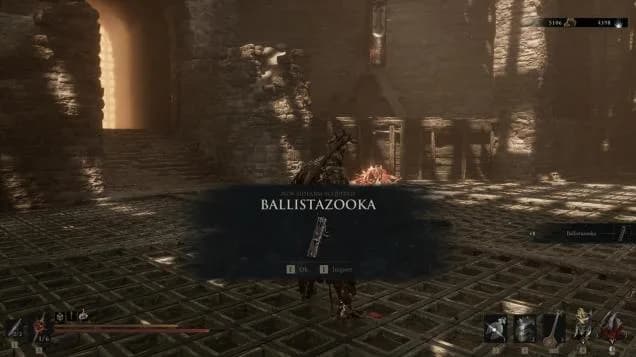
Mammon
Ballistazooka
Heavy ranged sidearm.
- Location
- Sentry’s Grave, after the Subjugated Guardian.
- Requires
- Defeat Subjugated Guardian
- Evidence
- Cross-checked guides · not yet tested in-game · 2026-08-19
Mammon
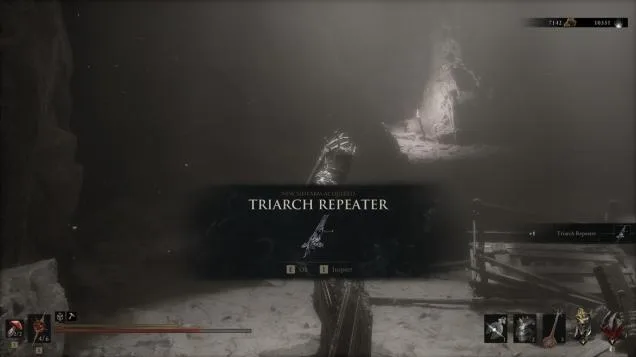
Triarch Repeater
Repeating ranged sidearm.
- Location
- Blackwell Cavern.
- Requires
- None known
- Evidence
- Cross-checked guides · not yet tested in-game · 2026-08-19

Mammon
Cursed Child
Quest-linked sidearm with a distinctive location.
- Location
- Revered Beacon in Sester’s Abbey.
- Requires
- None known
- Evidence
- Cross-checked guides · not yet tested in-game · 2026-08-19
Mammon
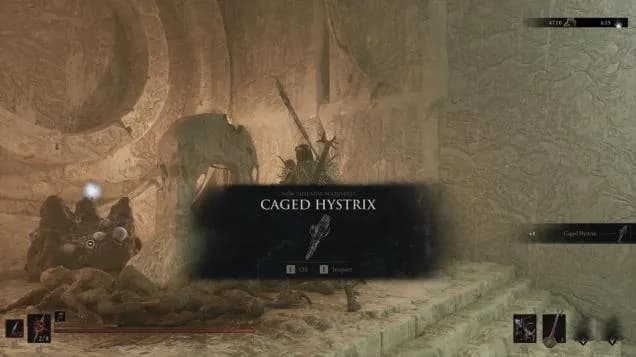
Caged Hystrix
Sidearm found alongside the Clockwork Scythe.
- Location
- Sariel chain near the Chamber of Becoming.
- Requires
- Complete the Sariel chain
- Evidence
- Cross-checked guides · not yet tested in-game · 2026-08-19
Primary weapons only
Compare without invented stats
0 of 3 selected
Choose Compare on up to three primary weapon cards. Missing pace, reach, and ability values will remain “Not yet verified” until reliable in-game checks are recorded.
Quick answer
The launch-build research records 16 armaments: eight primary melee weapons and eight sidearms. Use the searchable archive above as the roster source of truth. It derives names, routes, requirements, evidence, and collection state from the same dataset used by the Map and Tools pages, so a correction only needs to be made once. The Tarforge at Marrow Keep is the reported upgrade hub, using coins and smithing-stone materials. Exact costs and balance values still require in-game verification.
How to use the archive
Start with the class filter. Primary weapons define the timing and reach of your main attacks, while sidearms add ranged interruption, status pressure, or puzzle utility. Search covers names, broad combat roles, locations, and prerequisites. That means a key name, dungeon, boss, or behavior can be more useful than remembering an item’s exact spelling. Region and evidence filters combine with the search instead of replacing it.
Every card includes an appearance screenshot, a reported route, its prerequisite, the research date, and a direct Map marker. The collection button writes to the same local progress record as the Equipment Database and Collection Checklist. No account is required, but browser storage is local to the device and can be cleared. Image-source links document where each factual appearance was obtained.
The comparison panel accepts no more than three primary weapons. It deliberately excludes sidearms because their combat purpose is different, and it prints “Not yet verified” instead of guessing missing pace, reach, or signature-ability fields. Treat the documented role as a navigation aid, not a numerical tier list.
Upgrade strategy
All weapons and sidearms can be upgraded at the Tarforge in Marrow Keep. Upgrades require coins and smithing-stone-type materials. The supplied guide recommends upgrading a practical early pair before spreading materials across every exotic option.
Commit upgrade materials to a pair you can use under pressure before improving every discovery. A flexible early pair is usually more valuable than several lightly upgraded experiments. When a pickup sits behind a boss or key, compare the cost of the detour with the strength of your current route. The archive’s Map actions preserve that context instead of reducing the decision to a checklist item.
Do not read an unverified field as proof that two weapons are identical. It means the current sources did not support a reliable, normalized value. Patches can also change costs or effectiveness, so a future in-game pass should record the build number alongside each quantitative update.
Choosing a primary and sidearm
Choose a primary weapon around the commitment you can consistently manage. A dependable sword can make encounter timing easier to learn, a heavy axe or great blade asks for longer openings, and mixed or transforming weapons reward players who already understand enemy recovery windows. Broad role descriptions are useful for narrowing the field, but they are not substitutes for animation data or a controlled damage test.
Sidearms are active tools rather than passive backups. A spread shot may interrupt at close range, predictable projectiles can pressure safer distances, and unusual devices may interact with enemies or distant mechanisms. Pairing should solve a weakness: a slow primary may benefit from quick ranged interruption, while a mobile primary can leave room for a heavier sidearm. Ammunition, cooldown, and upgrade behavior are not yet normalized in the shared dataset, so test the pair before spending scarce materials.
Route around prerequisites
Weapon hunting overlaps with dungeon progression. Some entries are open pickups, some require a named key, and others sit after a boss or encounter chain. Use the prerequisite field before traveling, then open the Map marker for the recorded region or route. A marker labeled with region precision is intentionally less exact than one backed by a turn-by-turn route; it should help you plan without pretending the research found a precise coordinate.
For an efficient collection run, group entries by region and complete nearby prerequisites together. Keep boss-gated armaments for a prepared pass, and revisit key-gated routes once the required item is confirmed in inventory. Collection state can track the result, but it does not assert that the route has been independently tested by this site.
Weapon details that remain To be confirmed
Exact damage values, upgrade costs, final scaling, and post-patch balance are To be confirmed. The collected guides name locations and broad behavior, not complete stat tables. Avoid presenting a community tier impression as an official ranking.
Some dungeon names and beacon spellings vary between community pages. The directory above follows the supplied GameSpot route. If an in-game patch renames a location, update the route name with the official map text.
Source notes
Weapon names, totals, regional distribution, and early routes come from Fextralife and GameSpot research collected August 17–18, 2026. Exact dungeon step-by-steps are summarized to avoid copying external walkthrough text.